How to Build a Floating Deck With Deck Blocks
Building a floating deck is a great way to build an outdoor living space. However, it can be hard to know how much lumber you need and what tools are required for the job. It's also important to consider factors such as cost, building permit requirements, and the time you'll need to finish the project.
If you're looking for step-by-step instructions on building your own floating deck, we've got everything you need here. Our guide will take you through every step of the process, from planning out the project with our free materials list to building and finishing your new floating deck. We'll cover all of these topics in more detail below.
What Is a Floating Deck?
A floating deck is a platform built on top of the ground that sits at the same level as the walls for building your home . A floating deck, also known as a freestanding deck, can be built by setting it directly above the ground or on a bed of gravel.

Other people prefer supporting the floating deck with concrete blocks. This method ensures the wood is off the ground and away from any moisture. The wood stays drier and lasts longer. You can use a floating deck to finish off any area outside that needs a little something extra. Before you get started, ensure you understand why you need a DIY floating deck in your yard.
Codes and Regulations for Building a Floating Deck
Before you start building your floating decks, make sure you obtain all the proper permits from your city and state. Depending on where you live, the codes may vary. In most cases, you should be able to apply for your permit at home improvement stores like Home Depot or Lowes. Some states may not require you to have the building permit, but it's still important to confirm this before proceeding.
Some states may subject you to zoning rules that dictate how far away from a property line you have to build. Also, confirm if they dictate the size of your floating deck, so you don't end up in trouble with the law.
Before you contact your local zoning department, first check your city building codes to determine if this is a necessity. If it isn't, do some research on the zoning regulations in your area and how close you can build to a property line. It's always important to be on the safe side as far as the codes and regulations are concerned.
How to Build a Floating Deck Steps
The below steps outline the friendly process of building a DIY floating deck. If you already have your permit, you can proceed to build your own floating deck with the following steps:
What You'll Need
- Rake
- Shovel
- Tape measure
- Drill and bits
- Jigsaw
- Hammermill
- Nail gun
- Mud pump or pneumatic stapler
- Tongue and groove deck boards
- 4 x 6s Wood deck screws
- Deck joist hangers Deck studs
- Treated lumber
- Concrete blocks
STEP 1: Prepare the Deck Area
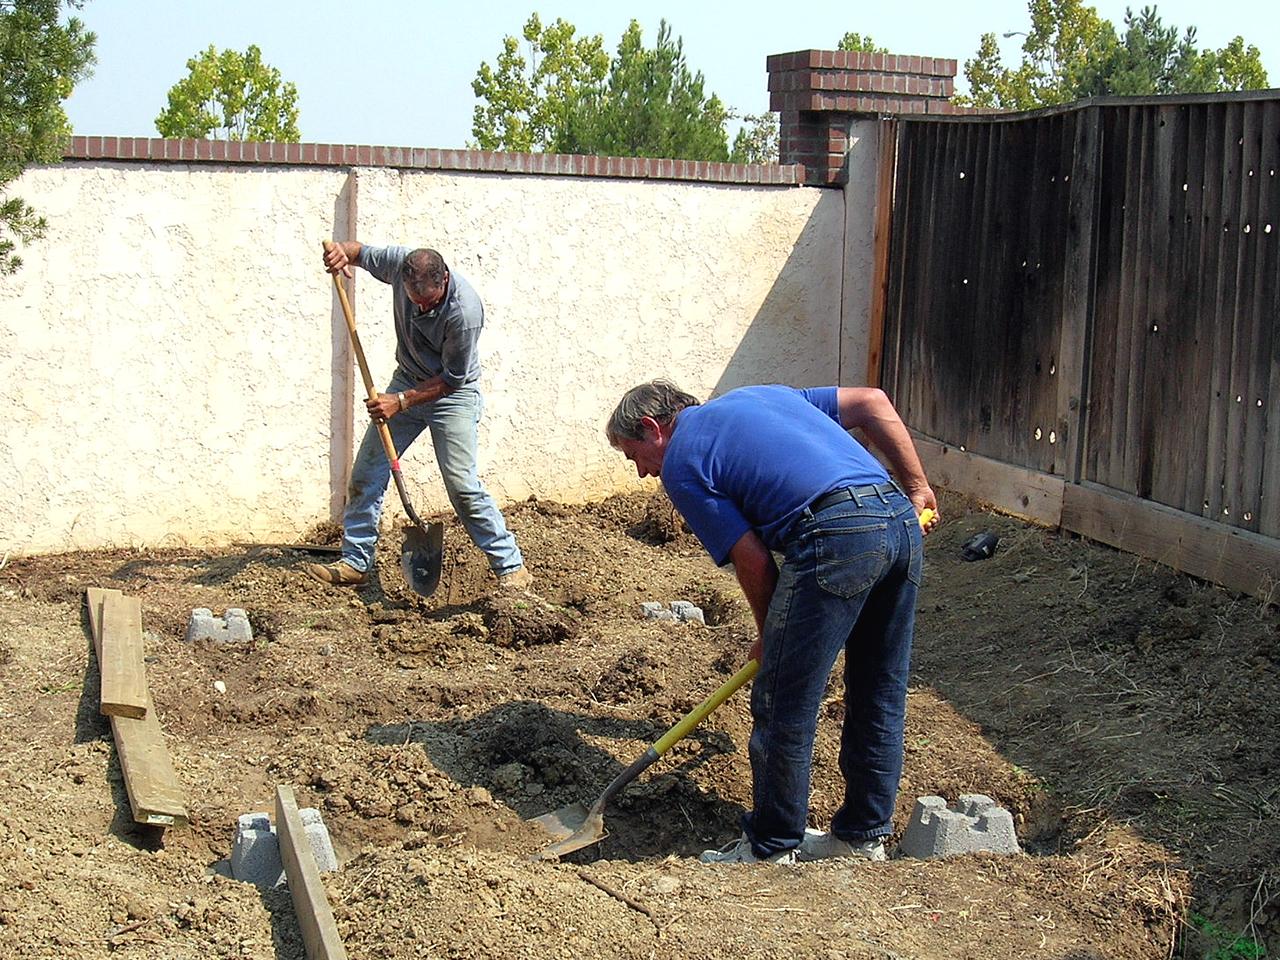
Once you've identified the area where your deck will be installed, it's time to clear it. Remove all the debris, including weeds, grass, and rocks. Rake the ground to flatten and level it. If you can't level ground, build your deck on top of wooden pallets to give the deck a height boost. You can also lay down landscape fabric (optional) to prevent weed from growing on your floating deck.

STEP 2: Set Concrete Blocks
Now it's time to set your first course of concrete blocks in place. Not sure where to set them? Jim writes, "Set the blocks at half block intervals along each of two adjacent joists with a 3-foot spacing between deck blocks." Remember that there should be a total of 12 deck blocks on this first course.
Lay the concrete blocks between the joists, and lock them together using reinforced steel ties. Use a masonry drill bit to make holes in your deck's flooring, where you'll thread these ties through and secure them with nuts and bolts.
To level the deck blocks, add or subtract sand until the tops of your blocks are all perfectly level with one another. Be sure to add extra sand beneath any block that's too high, and remove excess sand from any raised block as necessary. You don't want to skip this important and end up with a floating that's leaning on one side because of the uneven ground.
STEP 3: Build the Floating Deck Frame
Make sure you clear a flat area on your lawn so that you can build your deck frame. You can also build the outer frame on top of the concrete block foundation or build it on a temporary wooden platform. Using your circular saw, cut the 2 x 6 boards into 31-inch and 24-inch pieces.

To build the DIY floating deck frame, first determine which direction your deck posts will be sticking out from each end of your deck – this will ultimately be where you've driven down your concrete piers and secured them in place. Then, put one of the 2 x 6s on the ground so that it's perpendicular to the direction from which your deck posts will be sticking out.
Using one of your 1 x 6s, cut six pieces that are all 1-inch longer and wider than your 2 x 6 floating deck board. Attach each of these boards to the bottom of the 2 x 6 using deck screws. This will serve as the ledge to which you'll attach all the deck boards.
Next, cut four more pieces of 1 x 6 that are 2-inches longer and wider than your 2 x 6 floating deck board. Attach each of these boards to the top of your 2 x 6 using #8 screws. This will serve as a 4-inch elevation for your deck boards to attach to.
When your floating deck board is complete, you will be able to secure it into position by using lag screws in the 4 x 4s that are already in the ground on each of your four corners. The 2 x 6 will rest between the holes in these 4 x 4s and be stabilized by them as well.
Now you can lay the end joists across your deck frame, exactly the same way you laid them out on your foundation.
STEP 4: Position the Floating Deck Frame
Now it's time to arrange your floating deck frame on the concrete blocks and secure it into place. Some additional soil and gravel are important at this point to make sure that the frame stays in position.
You can set the deck frame at whatever height you want, but 4 inches is a pretty ideal measurement and makes for an easier installation. You can screw your 2 x 8s onto your 2 x 6 using #8 screws. This will serve as a 4-inch elevation for your deck boards.
STEP 5: Layout the Boards
Once all of your deck joists are in place, it's time to add the decking boards. The best method is to alternate their direction with every other board — so if one board points north, then the next one is south, and so on. This will help strengthen your floating deck boards without the extra effort of securing them all to a frame. Otherwise, you can simply run three or four rows straight across.
The 2 x 6 floor joists are unlikely to split due to changes in humidity, but be sure to give them a good coat of sealant like that of countertops so that you don't end up with cracks in the wood. Sand down any rough spots before you start, and use a pneumatic nailer for a quick and secure installation without much labor on your part.
If you're using pressure treated lumber, do not attach anything to it with staples unless they are corrosion-resistant stainless steel ones. Otherwise, the metal will react with the wood and cause the staples to rust.
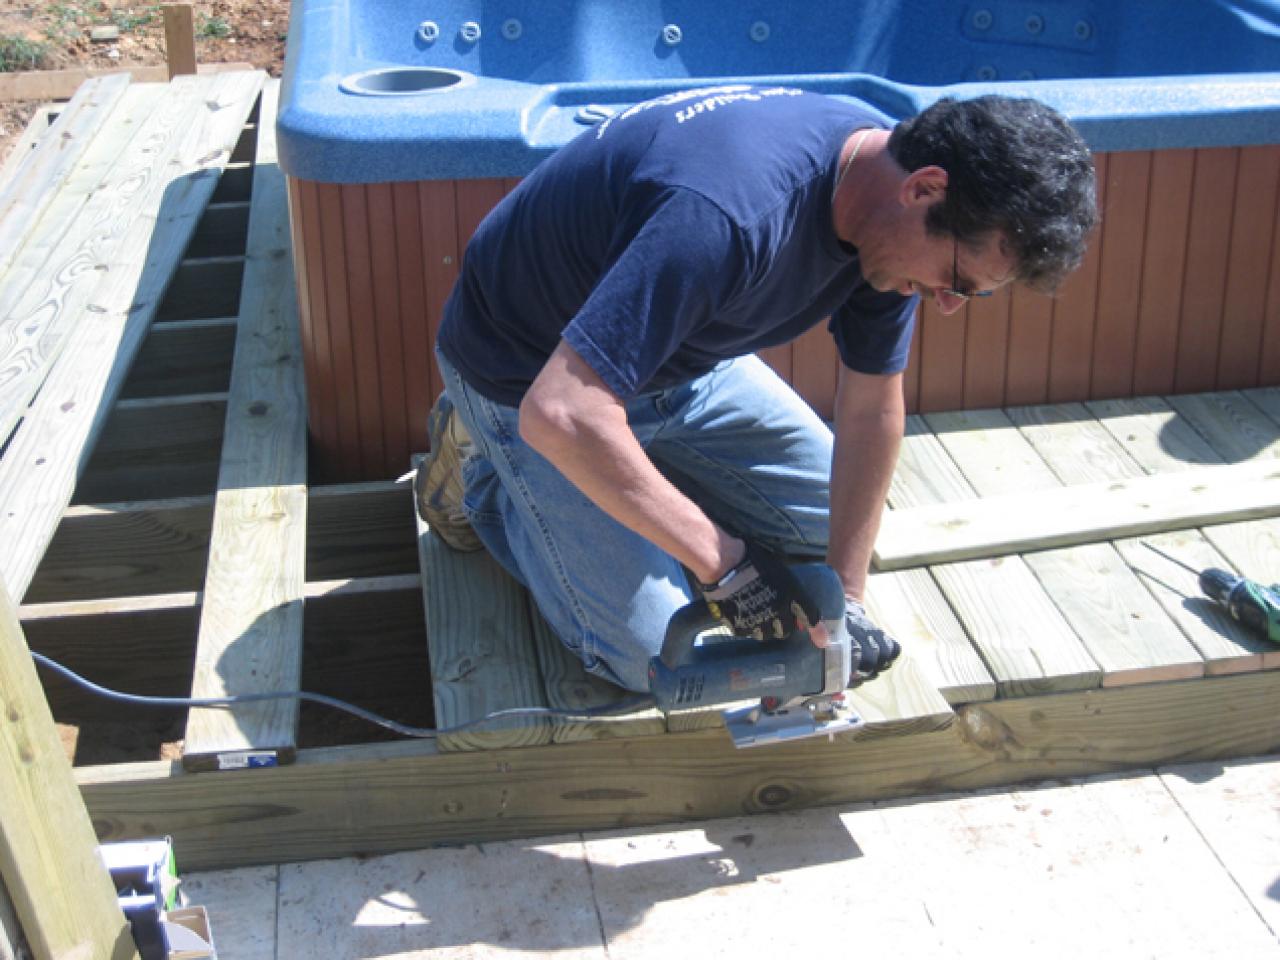
STEP 6: Install the Decking
To install your floating deck, measure the boards and trim them, so they're even. Start aligning the board along with one of the joists that you set in step 2, and mark the location of the first nail on each side.
Do not attach more than two boards at a time. Use your level to make sure they're even, then drive one nail every 12 inches or so every 6 feet as you go along. Drive new nails about 3/4 and ensure you always leave room for air circulation.
Once you finish your decking, you have to ensure you make it last. Seal the decking with a water-resistant sealer. This will protect it against the weather elements and ensure it lasts longer.
Important Tips to Remember When Building a Deck
- Buy pressure-treated material if possible.
- Compile your shopping list before you go to the store.
- Weigh your floating deck planks for accuracy.
- Use a level when attaching your deck boards to the supports of the deck. Be sure they're all as "level" as possible.
- Check local regulations for safety and building codes regarding constructing a deck.
- Know your material colors. You may not find the exact color when it's time to replace it or just want to change its look, so be sure to write down what you applied.
- Assemble tools needed before starting construction on-site. If something breaks, you don't want to waste precious building time ordering a new one.
- You can also use composite decking materials
Related Questions
How much does it cost to build a floating deck?
The average cost for a floating deck made from wood is $1,550 to $2,450. Decking boards and materials are the primary cost drivers in building a floating deck. The cost of labor is relatively small compared with other DIY projects, but the overall complexity of building a floating deck may not be suitable for DIY enthusiasts so you might need to pay for labor costs.
Do you need footing for a floating deck?
Floating decks are generally supported by concrete footings that allow the wood to withstand support from the ground. The cost of footing materials depends on their size and material. You can use either poured concrete or precast support beams for footing.
Do I need a permit to build a floating deck?
You may need a permit to build your deck. You need to check with your local building department to find out if you need a permit.
Final Thoughts on How to Build a Floating Deck
Now that you've gone through these steps, your new DIY floating deck is complete and ready for you to enjoy. The key to making sure you protect your investment is by maintaining the wood with regular sealers as well as cleaning products and reapplying the finish often. Make sure you also check the cords of your lights to verify they are all in working order.
This floating deck design is one of the most inexpensive and easy to make, but you can use many different varieties of designs. Search on YouTube or Google for more ideas that will fit in with your style. Regardless of which plan you choose, just remember to take your time, be safe and have fun while building it.
How to Build a Floating Deck With Deck Blocks
Source: https://kitcheninfinity.com/how-to-build-a-floating-deck/